Mastering the Art of Taking Time Lapse Video
Taking time lapse video is an engaging and dynamic way to capture the world around us. It provides a stunning perspective of time by compressing hours or days into just a few short seconds. Whether you're a photographer, a real estate professional, or simply a photography enthusiast, understanding how to effectively create time lapse videos can elevate your projects to a whole new level. In this article, we will explore the nuances of time lapse photography and equip you with the skills necessary to create breathtaking visuals.
What is Time Lapse Video?
Time lapse video is a technique where individual frames are captured at set intervals to record changes that take place slowly over time. When played at normal speed, time appears to be moving faster, allowing viewers to see the transformation of a scene. This method is ideal for capturing changes in landscapes, cityscapes, and even the intricate processes of nature, such as blooming flowers or bustling urban life.
How Does Time Lapse Photography Work?
The mechanics of taking time lapse video involve capturing a sequence of frames at specific intervals. This is typically achieved using a camera that allows you to control the interval at which the frames are shot. The camera can be mounted on a tripod or a stable surface to ensure consistency and prevent any unwanted motion. Once all frames are captured, they are stitched together in post-production to produce a smooth video.
Benefits of Time Lapse Photography
- Captures Change: Ideal for showcasing gradual transitions, such as sunset to twilight, or the process of a construction project.
- Creative Expression: Opens up a realm of artistic possibilities, allowing you to tell a story through the passage of time.
- Engaging Content: Audiences find time lapse videos fascinating, making your content more shareable and memorable.
- Versatility: Suitable for various fields, including real estate, tourism, and environmental awareness.
Preparing for Your Time Lapse Video Project
Before you dive into taking time lapse video, it's essential to prepare adequately. Here are some steps to guide you:
1. Determine Your Subject
Choosing the right subject is crucial. Common subjects include:
- The movement of clouds
- Urban construction
- Floral blooming
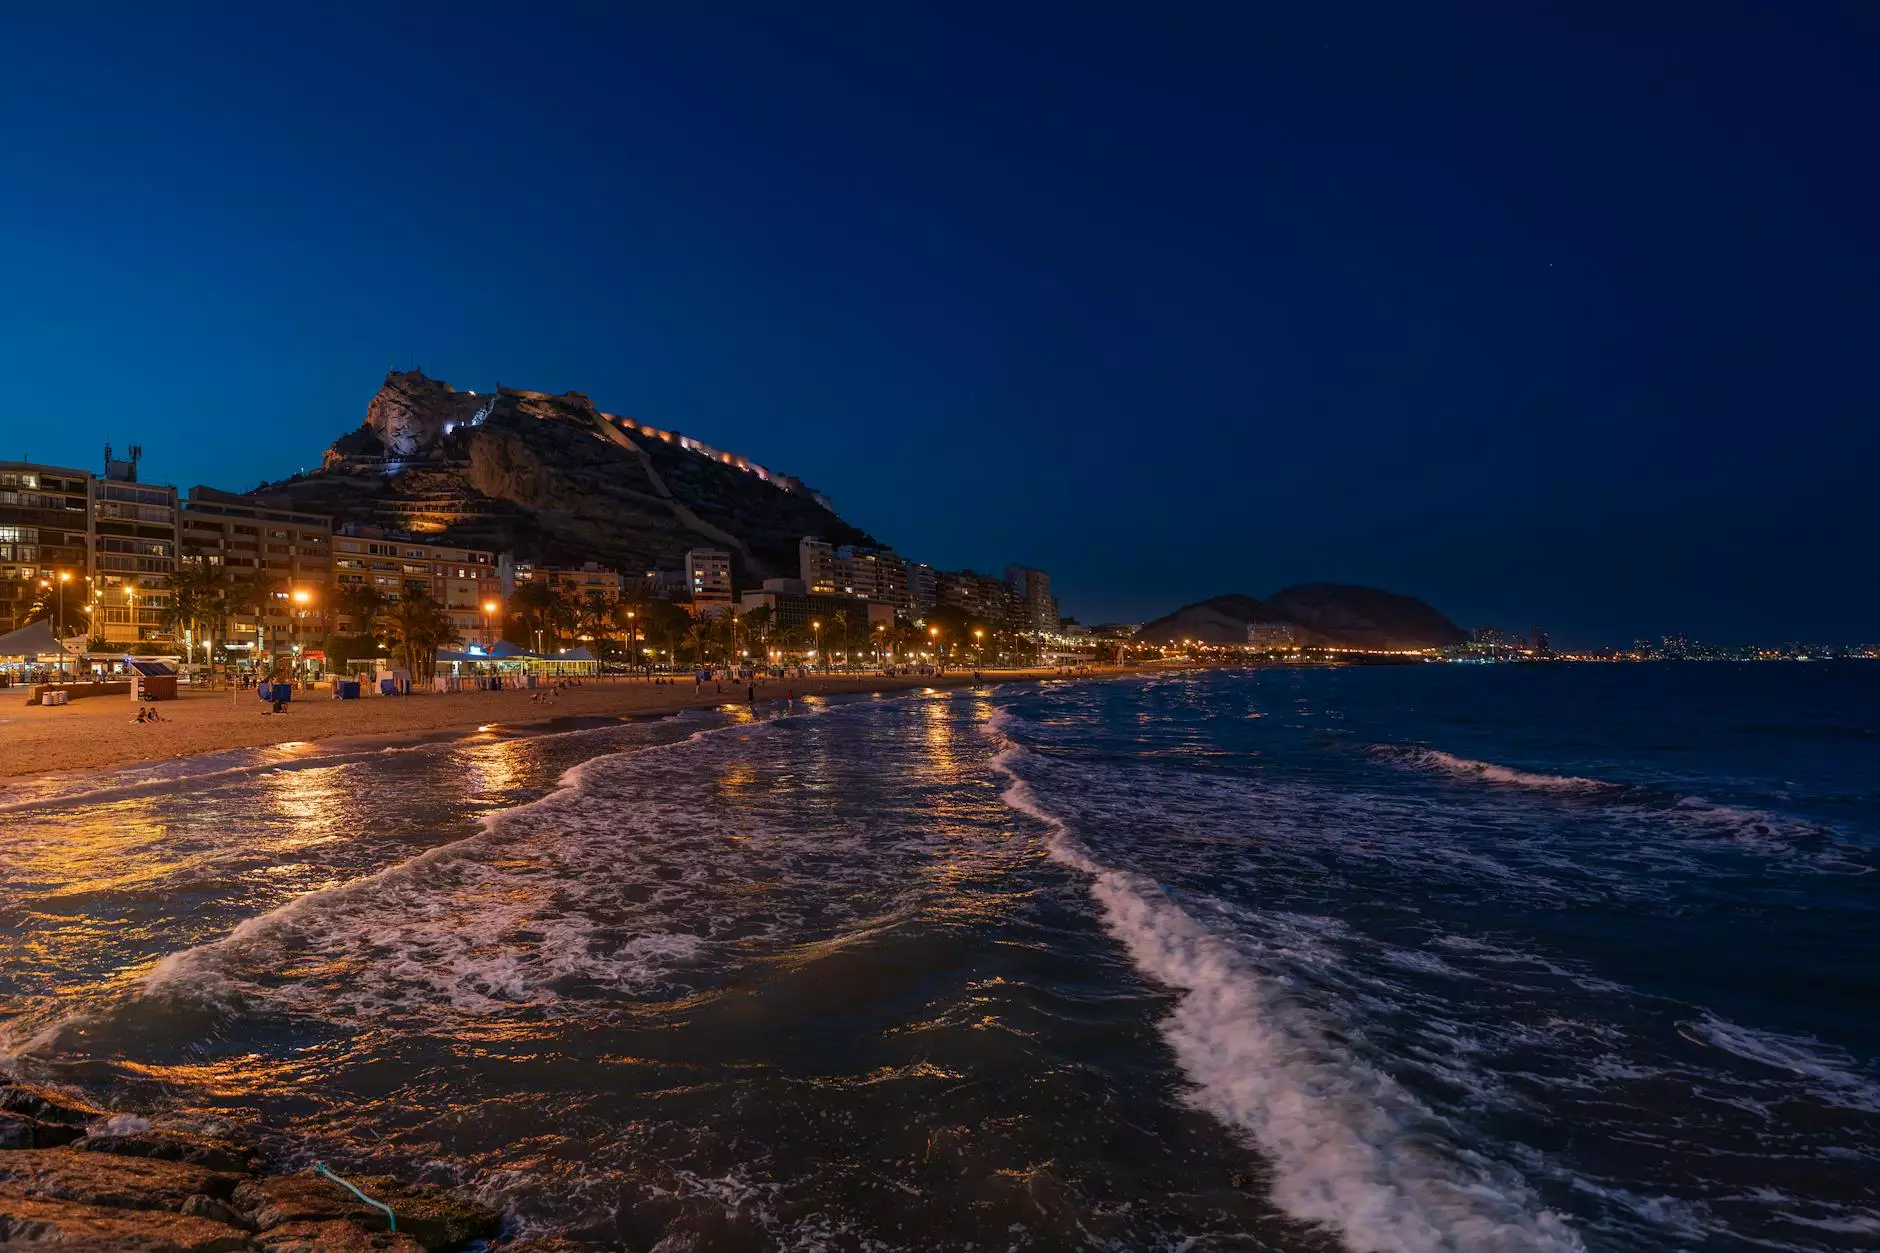
- Sunrise and sunset
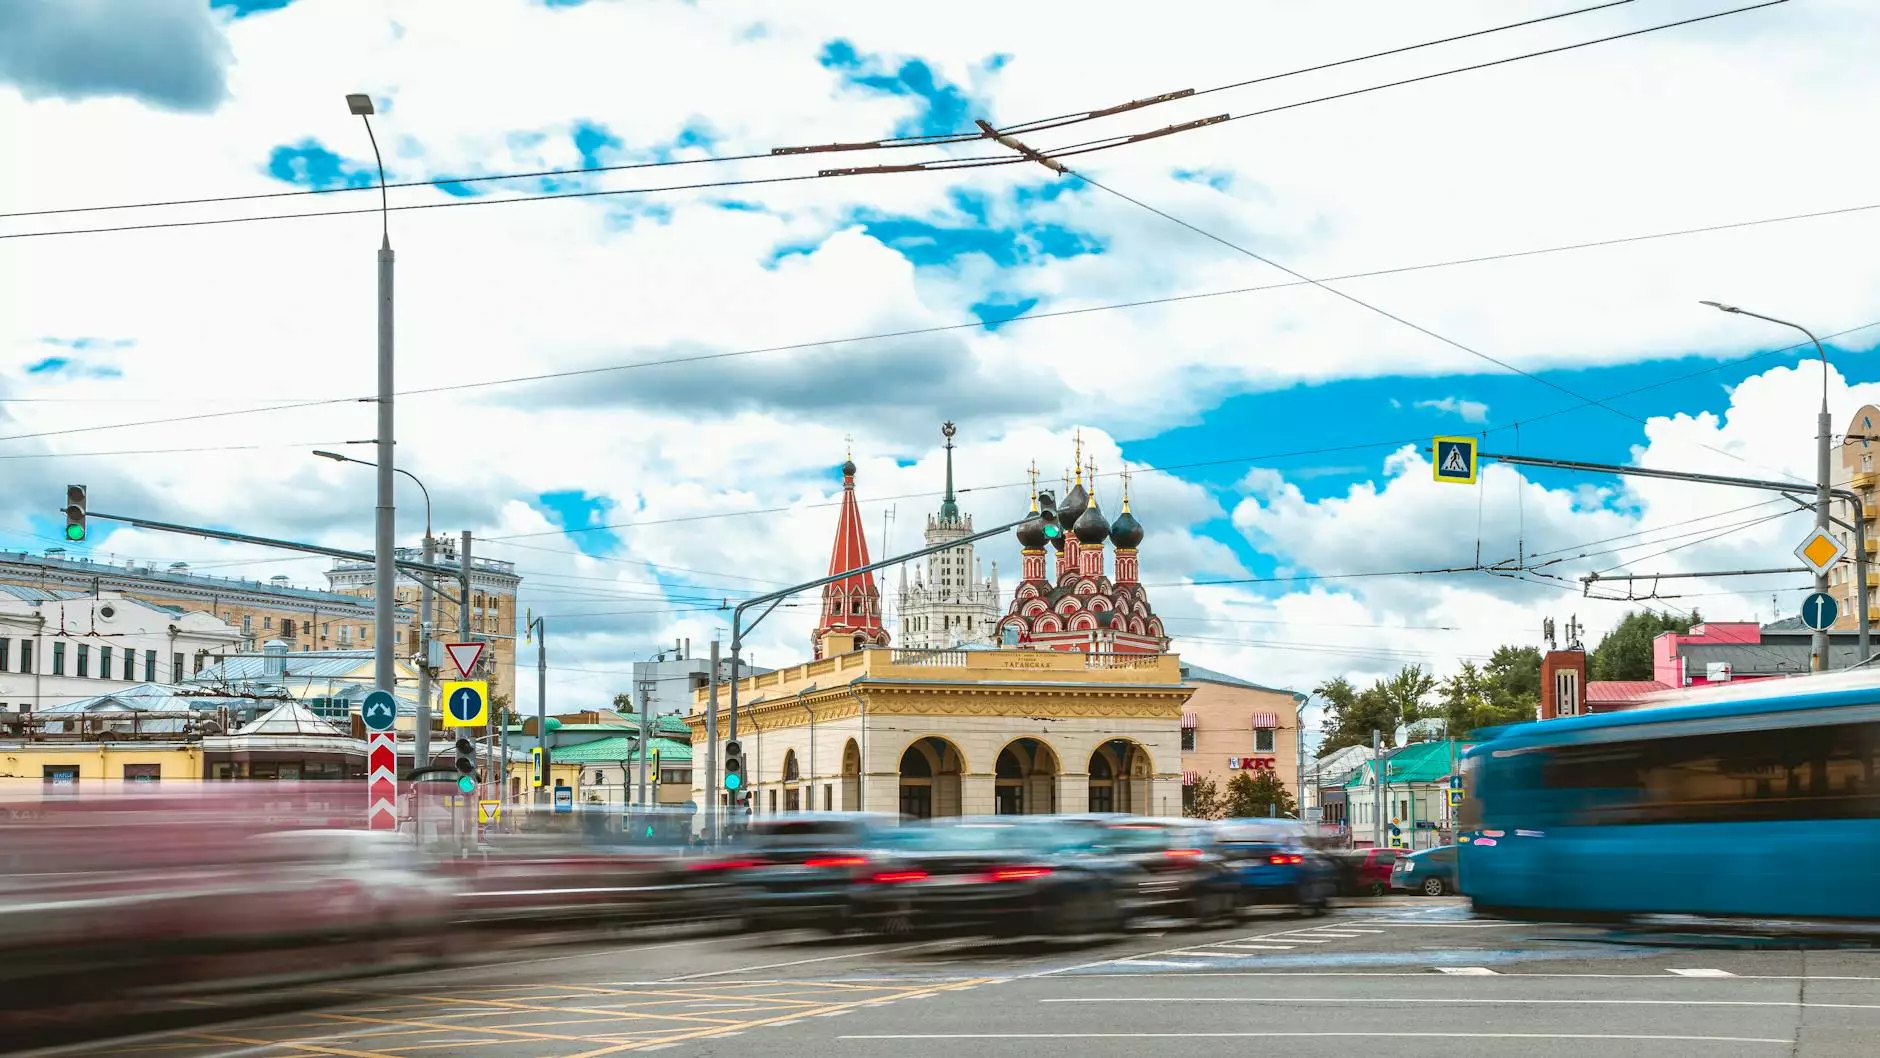
- Traffic flow
2. Choose the Right Equipment
Invest in a good quality camera, preferably a DSLR or mirrorless camera, that allows you to manipulate settings manually. A sturdy tripod is also essential for stable shots. Additionally, consider using:
- Intervalometer: A device that automatically takes photos at set intervals.
- Lenses: Different lenses can offer varying perspectives; wide-angle lenses are popular for landscapes.
- ND Filters: Neutral density filters can help manage exposure times in bright light conditions.
3. Scout Your Location
Visit the location beforehand to assess the best angles, lighting conditions, and potential obstacles. Consider how the subject will evolve over time and look for vantage points that provide a comprehensive view of the scene.
Technical Aspects of Taking Time Lapse Video
Understanding the technical components is fundamental when taking time lapse video. Here’s what you need to keep in mind:
1. Camera Settings
Set your camera to manual mode. Here are a few key settings:
- Shutter Speed: Choose a shutter speed that accommodates your subjects. Faster subjects may need a shorter shutter speed to prevent blur.
- Aperture: Set a consistent aperture to control depth of field. A smaller aperture will allow for greater depth of field.
- ISO: Keep the ISO as low as possible to minimize noise. Adjust as necessary based on lighting conditions.
2. Interval Timing
The interval between each shot is critical. A good starting point is capturing one frame every 1-10 seconds, but this can vary based on how fast the scene changes. Here’s a guideline:
- Fast-moving subjects: Use shorter intervals (1-2 seconds).
- Slow changes: Longer intervals (10-30 seconds) are more appropriate.
3. Duration of the Shoot
Plan for an extended duration to ensure you have enough frames for a smooth video. Always account for the final playback speed. A good rule of thumb is to shoot for at least 30 minutes for a 10-15 second final video, depending on your intervals.
Editing Your Time Lapse Video
The post-production phase is where your time lapse footage truly comes to life. Editing lets you compile your pictures into a cohesive video. Follow these steps for effective editing:
1. Importing Your Images
Use software such as Adobe Premiere Pro, Final Cut Pro, or even a simpler program like iMovie to import your images. Make sure to import them in the order they were taken for a smoother workflow.
2. Creating the Video Sequence
Compile your images into a sequence. Set your frame rate, typically around 24-30 frames per second (fps), which is standard for most video formats. Play with the speed settings to adjust how slow or fast the time lapse will playback.
3. Adding Music and Effects
Consider layering your video with suitable background music. This accentuates the visual experience and engages viewers on a deeper emotional level. You may also want to apply transitions or color grading to enhance the overall look and feel.
Best Practices for Taking Time Lapse Video
To maximize the impact of your time lapse videos, keep these best practices in mind:
- Plan Your Shots: Ensure you have a clear vision of your narrative and how each shot contributes to it.
- Stability is Key: Use a solid tripod or stabilizer to prevent camera shake.
- Monitor Lighting Conditions: Lighting can dramatically affect your footage. Be prepared to adjust settings as the sun rises or sets.
- Review Your Work: Don’t hesitate to take multiple test shots to ensure everything is working correctly.
Leveraging Time Lapse for Business: A Focus on Real Estate Photography
In the competitive world of real estate, showcasing properties is crucial for attracting potential buyers. Time lapse photography can offer an innovative way to present listings. Here’s how:
1. Highlight Changes in Space
Using time lapse, you can capture the transformation of a property over time, particularly those undergoing renovations. By showcasing before-and-after scenarios, you can impress potential buyers with the property's potential.
2. Showcasing Neighborhood Dynamics
More than just the property itself, time lapse can depict the vibrancy of the neighborhood. Capture the life of the community—from bustling markets to serene parks—offering a comprehensive view of what it’s like to live in the area.
3. Unique Marketing Strategies
Stand out from the crowd. Time lapse videos can be used creatively in marketing materials, allowing potential buyers to visualize their future home in a dynamic way that standard photographs simply cannot convey.
Conclusion
In conclusion, mastering the skill of taking time lapse video can significantly enhance your photography portfolio and serve various industries, particularly real estate. By meticulously planning your shoots, understanding technical settings, editing proficiently, and leveraging the advantages of time lapse, you can create compelling visuals that engage and inform your audience. As you continue to explore this fascinating technique, remember that practice and creativity are your best allies in producing stunning time lapse masterpieces.
To explore further resources, tips, and expert insights on photography, visit bonomotion.com.